| Contents | |||||||
 |
Brushes About different brushes used for model painting. |
 |
More
Brushes Some more unusual tools which can be used to apply paint.
|
 |
Paints,Inks etc. Introduction to different media used for painting models. |
 |
Undercoating How to undercoat models. |
 |
Drybrushing An introduction to the drybrushing technique.
|
 |
Washes How to make and use different wash mixtures.
|
 |
Stippling Stippling paint to create texture. |
 |
Tinting or Glazing Applying thin layers of colour to change the look.
|
 |
Spattering Flicking random dots of paint from a toothbrush. |
||||||

|
Brushes (Click thumbnails for larger images) |
|||||
|
|
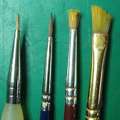
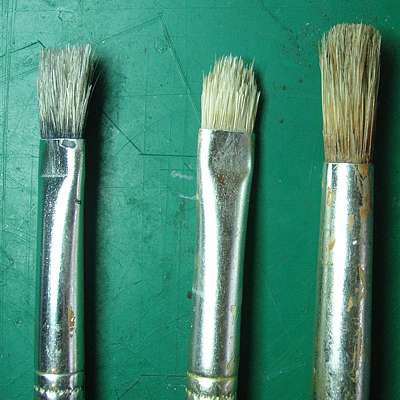
1. Sable & soft synthetic brushes These brushes are best used for detailing or adding washes and tints to terrain models. The third one has been used for drybrushing, which has made all the bristles splay out. |
|
2. Hogshair / Bristle brushes These are the perfect brushes for undercoating and drybrushing building models. Notice the two flat brushes on the left have been "eaten away" by repeated use for drybrushing. |
|
3. Household paint brushes These can be useful for covering large areas, although the bigger the brush, the more paint you will waste. |


|
More Brushes (Click thumbnails for larger images) |
|||||
|
|
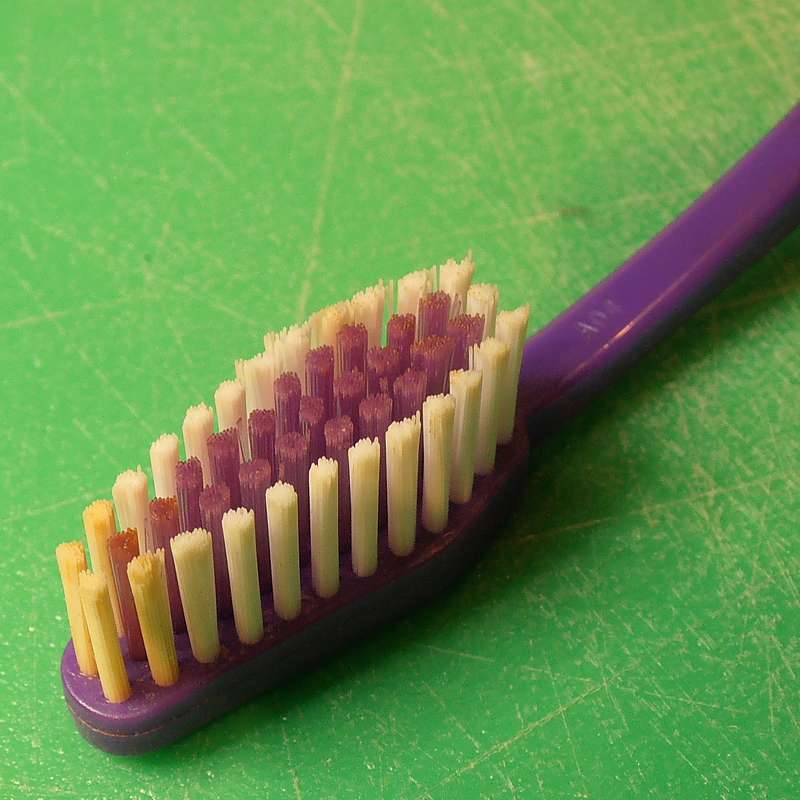
1. A toothbrush is ideal for spattering paint. |
|
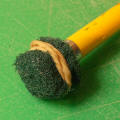
2. A custom 'brush' made from a piece of pan scourer held on the end of a pencil with an elastic band. This is good for stippling paint giving a rougher texture than a bristle brush. |
|
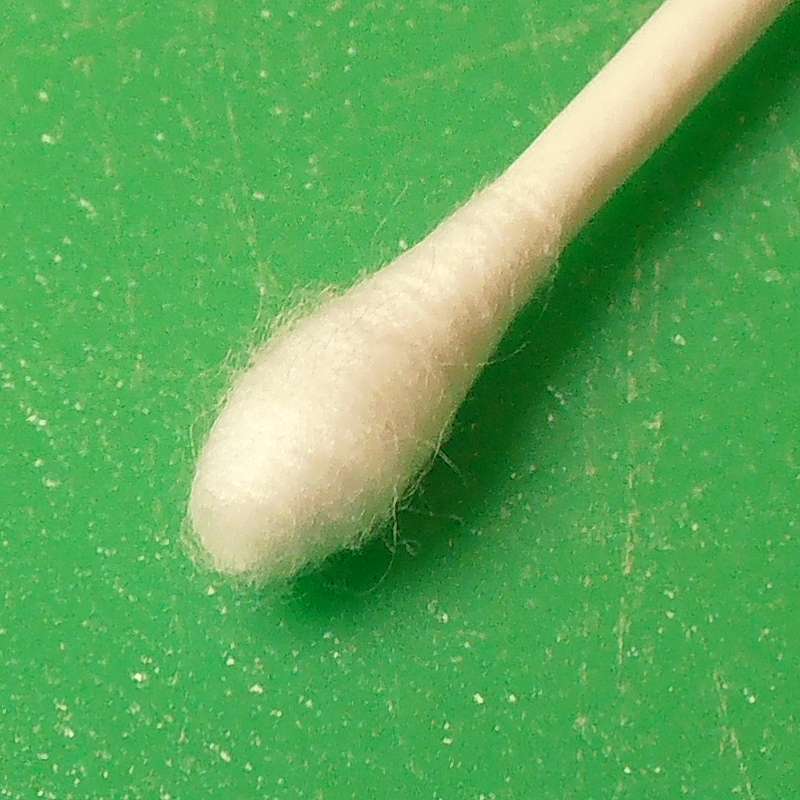
3. Cotton buds are ideal for applying weathering powder and ground pastel or chalks. They can also be useful to soak up excess paint from small or confined areas. |
 |
4. A cocktail stick can also be used to apply small circles of paint, and you can trim the point to get a variety of different sizes. | ||||

|
Paints, Inks etc. (Click thumbnails for larger images) |
|||||
|
|
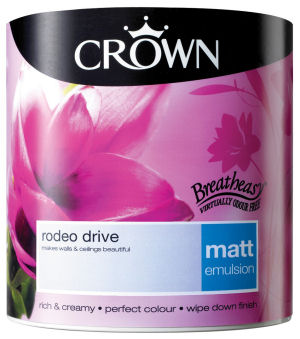
1. Household emulsion (latex) paint This paint is cheap and readily available. It is ideal for use as an undercoat and drybrushing on plaster and foam models. The more expensive paints tend to contain more pigment, so will provide better coverage. |
|
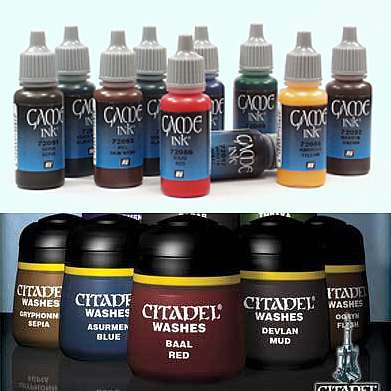
2. Craft acrylics This type of paint is perfect for painting miniatures, although it will be an expensive option for painting terrain models. For this reason, acrylics are best used for adding details, shading washes and tints to a model. |
|
3. Inks Inks are ideal for making smooth, translucent washes for shading or tinting areas of a model. |
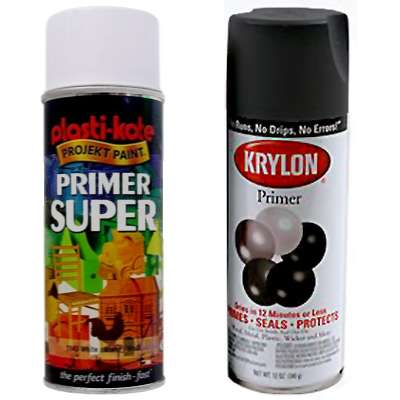 |
4. Spray paint Whilst spray paint may be used to undercoat plaster, it may take several coats to adequately cover, due to the porosity of the plaster. This makes it an expensive option, although it is fast. Do not use spray paints on foam materials without testing first - most sprays will dissolve the foam. ALWAYS spray in a well-ventilated place, preferably outside on a calm day. |
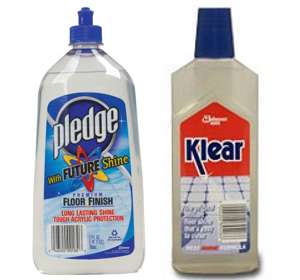 |
5. Pledge Multi-Surface Wax (Future Floor Polish) This product is known to many miniature painters. The addition of a small amount to acrylic paints will improve the flow of the paint and slow down the setting time. It can also be used to make washes with inks or acrylics. |
 |
6. Soft Pastels / Weathering powders Weathering powders are dry pigments which may be applied to a model with a brush. Soft artists pastels (not oil pastels) can be scraped with a knife, and the resulting powder used in the same way. They are mainly used to add dirt, dust, soot and similar effects to a model. |

|
Undercoating (Click thumbnails for larger images) |
|||||
|
|
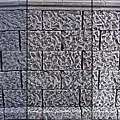
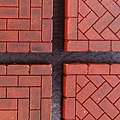
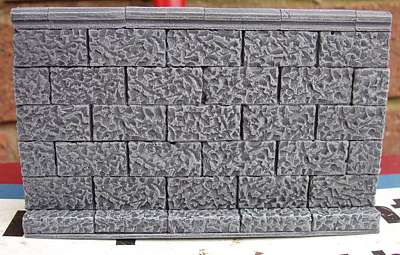
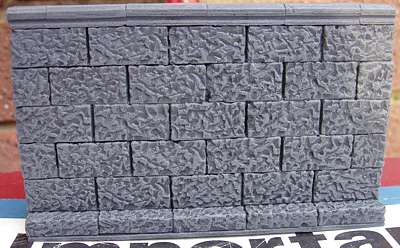
1. This wall section was undercoated using a No. 6 flat bristle brush and emulsion paint straight from the tin. This usually leaves a few areas without any paint, especially in the joints and cracks (magnified in picture). It is difficult to spot these areas until the paint has dried. Always allow one side of the model to dry thoroughly, before undercoating the other, since the moisture in the paint will soften PVA adhesives. |
|
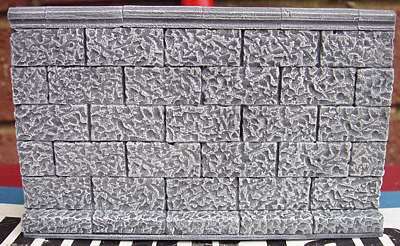
2. Once the base coat is dry, go back and cover any areas which you missed. You can thin the paint with water now, which will help it to be drawn down into the cracks. Again, it is best to do one side first, and allow the paint to dry before painting the other. |
|
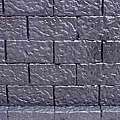
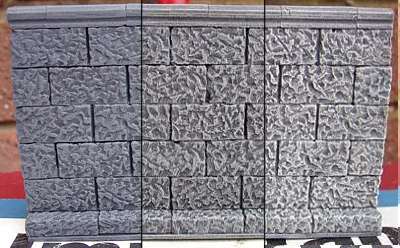
3. Spray paint can be very useful to undercoat smooth blocks because it will not leave any brush marks.
ALWAYS spray in a well-ventilated place, preferably outside on a calm day. |


|
Drybrushing (Click thumbnails for larger images) |
|||||
|
|
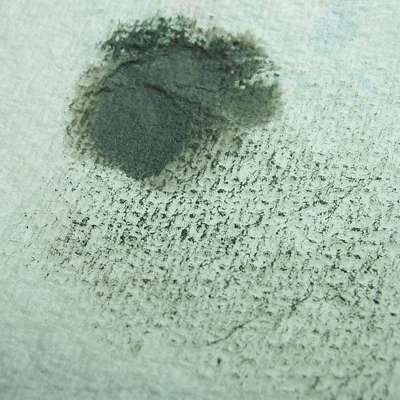
1. Select or mix a paint colour a little lighter than the base coat you have applied. Dip about half of a No.5 flat bristle brush into this mixture, and wipe any excess paint from both sides back into the container. Now wipe off even more paint onto a sheet of kitchen towel, until the paint only marks the raised areas of the paper. |
|
2. Apply the paint to the model. Begin with very light pressure on the brush, and drag the bristles across the surface, keeping the brush at a shallow angle to the model. As more paint is removed from the brush, gradually increase the pressure. Make brush strokes in all directions, and continue until the whole area is covered. |
|
3. Next, select or mix another paint colour, this time a little lighter still. Wipe even more of the paint off onto the kitchen towel before applying any to the model. |
 |
4. This layer of paint should only highlight the highest raised areas of texture. Keep the brush pressure very light and make strokes in all directions. The effect of each individual brush-stroke should be almost unnoticeable. |
 |
5. Although I was happy with the piece, I deliberately added an even lighter layer of paint. There is now too much contrast between the light and shaded areas for stone, but all is not lost - applying a wash will dull the bright highlights... |
 |
6. This image is a composite of the other three pictures, showing the effects of the different stages. |
|
NOTE: Drybrushing will ruin brushes - don't use your best sable brushes unless you have money to burn. I prefer to use cheap flat hog bristle brushes for this purpose. |
|
Washes (Click thumbnails for larger images) |
|||||
|
|
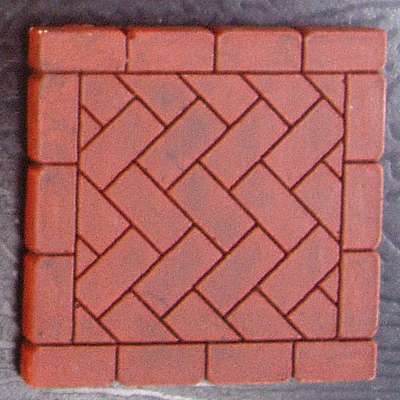
1. Having been undercoated in white, this piece has been base coated using burnt sienna acrylic paint. The other pieces were given the same base colour before the washes were applied. |
|
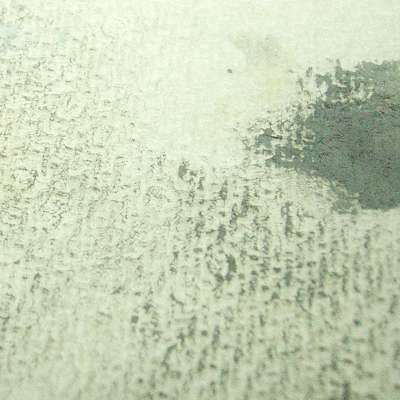
2. This piece was given a wash of acrylic paint thinned with water. Whilst this has darkened the grooves, it has also stained the top surface quite a lot. |
|
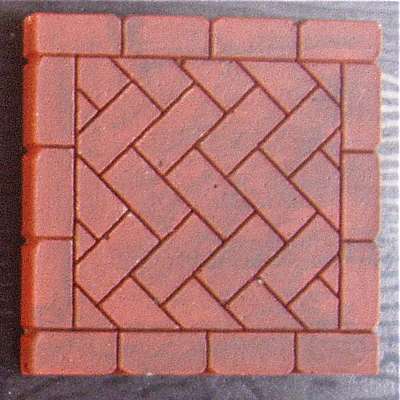
3. This piece was washed with a mixture of 6 drops water / one drop black acrylic paint / one drop Pledge Multi-Surface wax. The polish reduces the surface tension of the mixture, allowing it to run into the grooves much more freely and producing less surface staining. |
 |
4. This piece was given a wash of black ink thinned with water. The effect is smoother than the paint washes, but there is still a noticeable level of darkening to the upper surface of the tile. |
 |
5. This final piece was washed with a mixture of 6 drops water / one drop black ink / one drop Pledge Multi-Surface wax. In this case, the grooves have been shaded nicely, with much less darkening to top surface.
|
 |
6. Picture showing all four washes together for easy comparison. The top two pieces are those which were washed without the Pledge in the mixture. |
|
Each of these recipes for applying washes produces a slightly different effect. It is a matter of choice as to which particular mixture will provide the best results for the specific area to be painted. Effects will vary dependent on the brand of paint or ink which is used, and it is recommended that the reader experiments with his own materials. This will give a much better idea as to what results can be expected for a given wash mixture. |
|||||

|
Stippling (Click thumbnails for larger images) |
|||||
|
|
Materials Old brush with splayed bristles Household emulsion or acrylic paint |
|
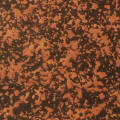
1. Spread a small amount of paint thinly on your palette. Gently jab the dry tip of the tatty brush into the paint, keeping the brush vertical. Now jab the brush onto a piece of paper, until you only make subtle patchy marks. Now apply the paint to the desired areas of the model. |
|
2. Repeat the same technique using a different colour to build up the textured effect. This method is the basis for all the marble effects I have shown on the Painting Stone Finishes page. |

|
Different stippling patterns can be made using other materials to apply the paint - natural sponges, pan scourers, wire wool etc. Don't be afraid to try different things on a sheet of card, and please let me know if you come up with anything interesting. |
|
Tinting or Glazing (Click thumbnails for larger images) |
|||||
|
|
Materials Soft brushes Inks or Acrylic paint Pledge Multi-Surface Wax (Future) |
|
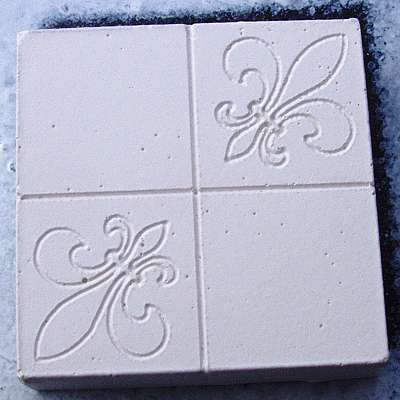
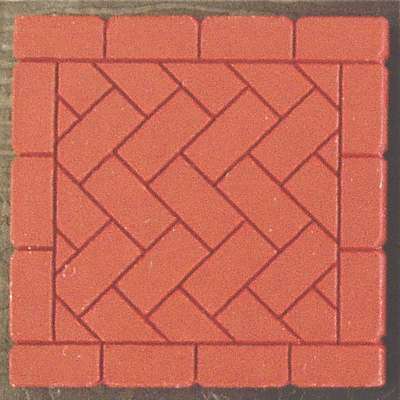
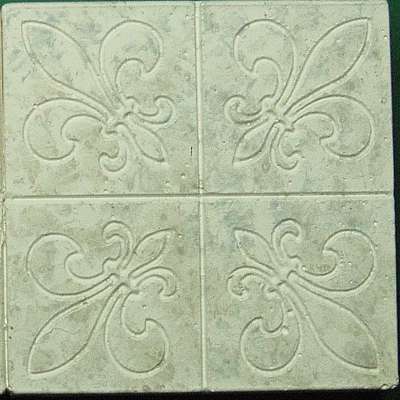
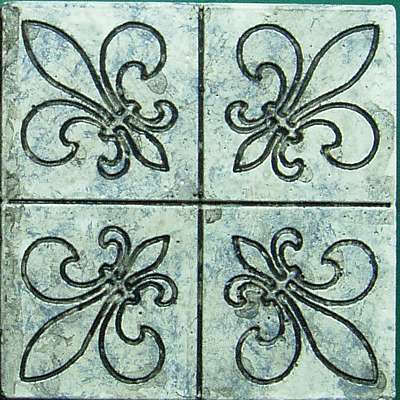
1. This is the starting point for tinting the fleur-de-lys tile. It is the same tile I stippled above, with a water / black ink / Pledge wash applied to shade the grooves. I then stippled a little white over the top of some of the surface staining which resulted. |
|
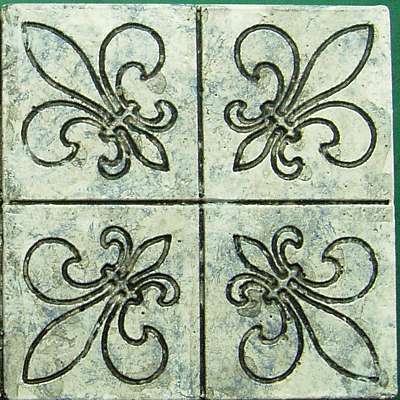
2. Mix up a thin wash of chestnut ink as described above. Using a fine detailing brush, apply this to the areas you wish to tint. This should add colour to the piece without obscuring all the underlying texture. |
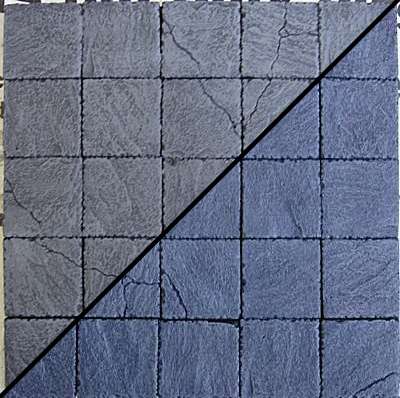 |
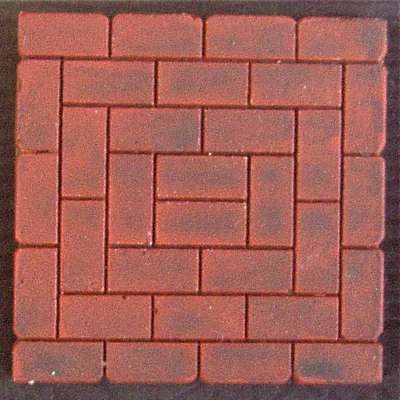
3. This floor was drybrushed using shades of grey paint. This is shown in the upper left part of the picture. A wash mixture was made with black and blue ink, and this was painted over the whole piece. The resulting colour (bottom right) is a much more pleasing slate colour. |
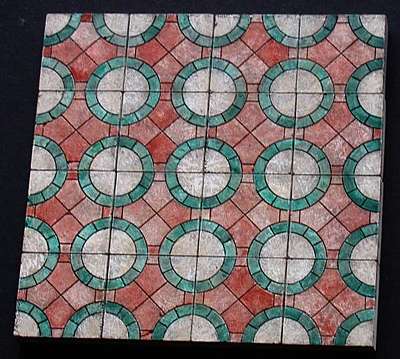 |
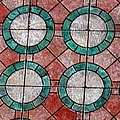
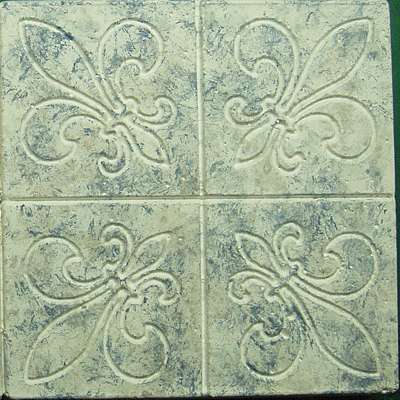
4. This floor was first stippled with shades of grey, then washed with black to shade the grooves. Thin washes of chestnut and green ink were then applied to make the pattern. Some areas had more of the wash applied resulting in the different shades of green and brown. |
||

|
Spattering (Click thumbnails for larger images) |
|||||
|
|
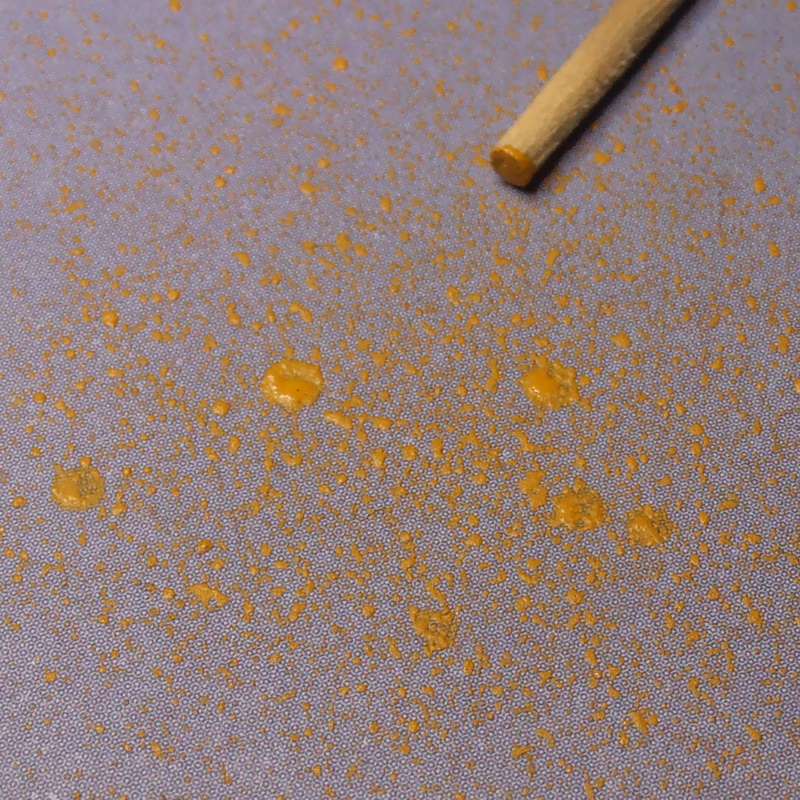
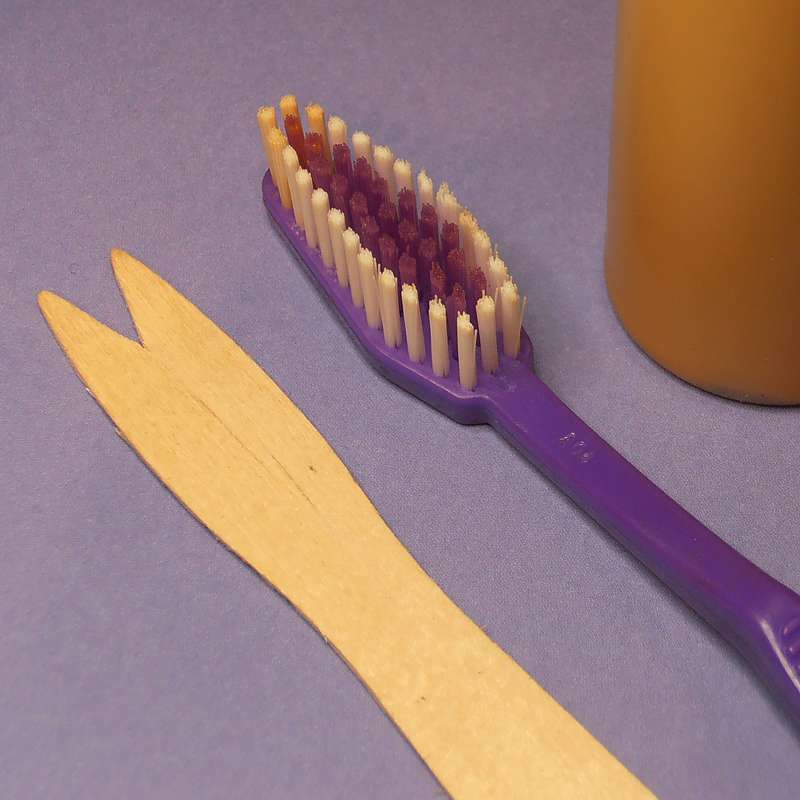
Materials Toothbrush Paint Wood strip (optional) Disposable glove (optional)
|
|
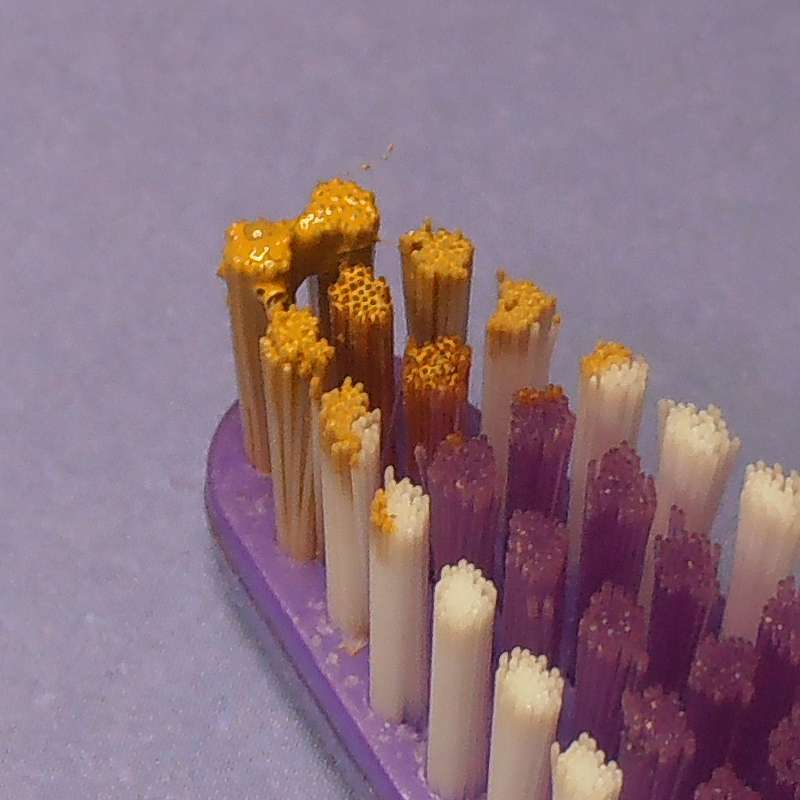
1. Load the tips of the bristles of the brush with paint. |
|
2. Use your (gloved) finger or a strip of wood (chip fork) to run across the bristles. Be sure to mask any areas you don't want to be spattered with paint. |
|
|
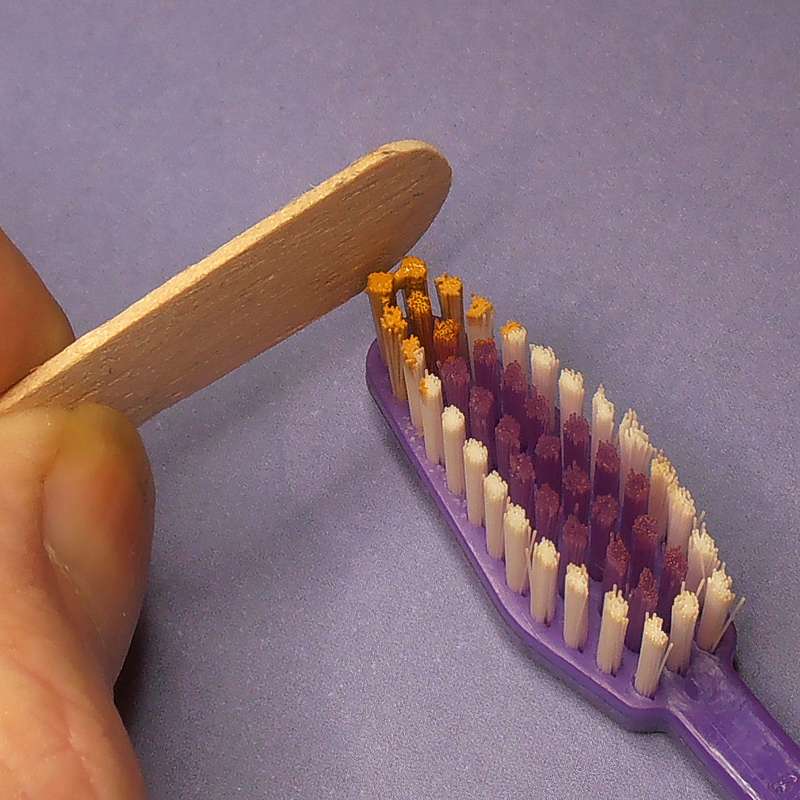
3. Point the brush toward the area you want to spatter with paint, and draw the wood strip backwards though the bristles. Alternatively use your finger in a similar manner. |
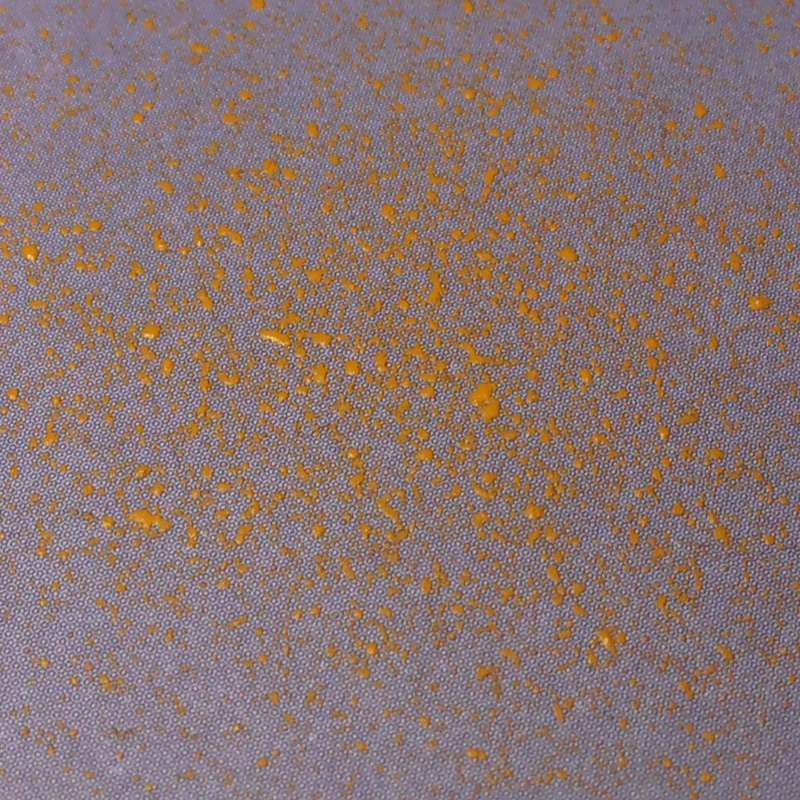 |
4. Repeat the process until you achieve the desired level of coverage, then allow the paint to dry. |
||
Contact me with suggestions, comments or questions.
These articles are provided under this Creative Commons Licence:
![]()